Learn the essential steps to prepare and paint your cabinets like a pro, transforming your space with a fresh, new look.
Preparing Your Workspace
Start your cabinet painting project by setting up an organized workspace. Remove all cabinet doors for easier painting and to avoid getting paint on the frames. As you remove each door, label it by writing a number on the hinge cutout, covering it with masking tape for protection. This labeling is key for reassembling the cabinets correctly.
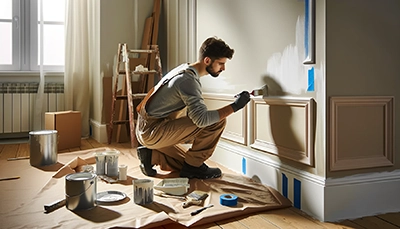
Proceed to mask off areas around and inside the cabinets where paint is not desired, ensuring a clean workspace and a neat finish. Don't forget to mask the hinge cutouts on the doors to prevent them from being painted. Keep all removed hardware, like hinges, knobs, and pulls, in a safe place for hassle-free reinstallation after painting.
Choosing the Right Paint and Primer
Consider factors like finish, durability, and ease of cleaning.
For painting wood cabinets, the best primer choices vary based on the specific requirements of your project. Popular options include Zinsser B-I-N Shellac-Base Primer, known for its stain-blocking capabilities and sealing knots in wood, and KILZ Adhesion Interior/Exterior Primer, which is highly adhesive and suitable for difficult surfaces. Zinsser Bondz Maximum Adhesion Primer is another good option for hard, dense surfaces, while INSL-X STIX Waterborne Bonding Primer is versatile and works well on laminate cabinets. For a primer that's quick-drying and suitable for both indoor and outdoor use, Zinsser Cover Stain Interior/Exterior Primer-Sealer & Stain Killer is recommended. Each of these primers has unique features tailored to different cabinet painting needs.
For painting cabinets, it's recommended to choose a type of paint that is durable, easy to clean, and suited for high-use areas. Semi-gloss, gloss, or satin finishes are typically the best choices for kitchen cabinets. These finishes are practical for kitchens and bathrooms, as they are more durable and easier to clean compared to matte finishes. Additionally, semi-gloss and gloss finishes can make colors look more vibrant and the space appear larger. It's important to use paint that adheres well, is scratch-resistant, and suitable for the cabinet material.
Surface Preparation
Proper surface preparation is key. Follow these steps for effective sanding:
-
Clean Surfaces: Start by using a degreasing cleaner to remove any grease, oil, or grime.
-
Sanding:
- For refinishing: Use 150-200 grit sandpaper, sanding along the grain.
- For new painting: Begin with 100-120 grit sandpaper, then use a finer grit.
-
Dust Removal: Vacuum with a brush attachment and use a tack cloth for thorough cleaning.
-
Wipe Down: Wipe the cabinets with a damp cloth to remove any remaining dust.
Priming Cabinets for Paint
-
Apply the Primer: Use an airless sprayer or a brush to evenly apply primer on the cabinet surfaces. Ensure to paint with the wood grain for a smoother finish.
-
Let It Dry: Allow the primer to dry completely, which may take several hours depending on its type.
-
Light Sanding: Once dry, lightly sand the surfaces for a fine finish.
-
Final Clean Up: Remove all sanding dust to prepare for the painting process.
Painting Technique for Cabinets
-
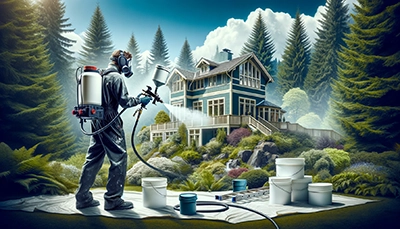
Using an Airless Paint Sprayer: An airless paint sprayer is recommended to achieve the best finish.
-
Spraying Technique: Position the sprayer at a 90-degree angle to the flat surfaces, ensuring it's perpendicular to the cabinet. Begin spraying before the paint stream reaches the cabinet door and release the trigger after you've passed over it. This technique helps to avoid the formation of high spots, ensuring an even coating.
-
Systematic Approach: Begin at the top, overlapping about half of your previous pass for even coverage.
-
Drying and Repeating: Let the paint dry completely, then flip the door over and repeat the process on the other side.
Finishing Touches
Once the paint is dry, reattach the hardware and enjoy your newly transformed cabinets.
Maintenance Tips
Learn how to maintain your painted cabinets to keep them looking fresh and new for years to come.
Author: Justin Ellwanger


